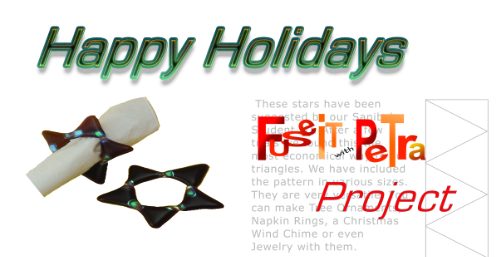
The Magic of Working Diagonal!
A Kaiser Lee Board Tutorial to Celebrate the Beginning of the Twenties!
Happy New Year!
Finally we will have a decade again with an identity.
Should you be reading this post to the end, you will find out that there is a possibility that I will actually make it for you. Just be one of the first people to order our “Special” and request a mold cutting service.
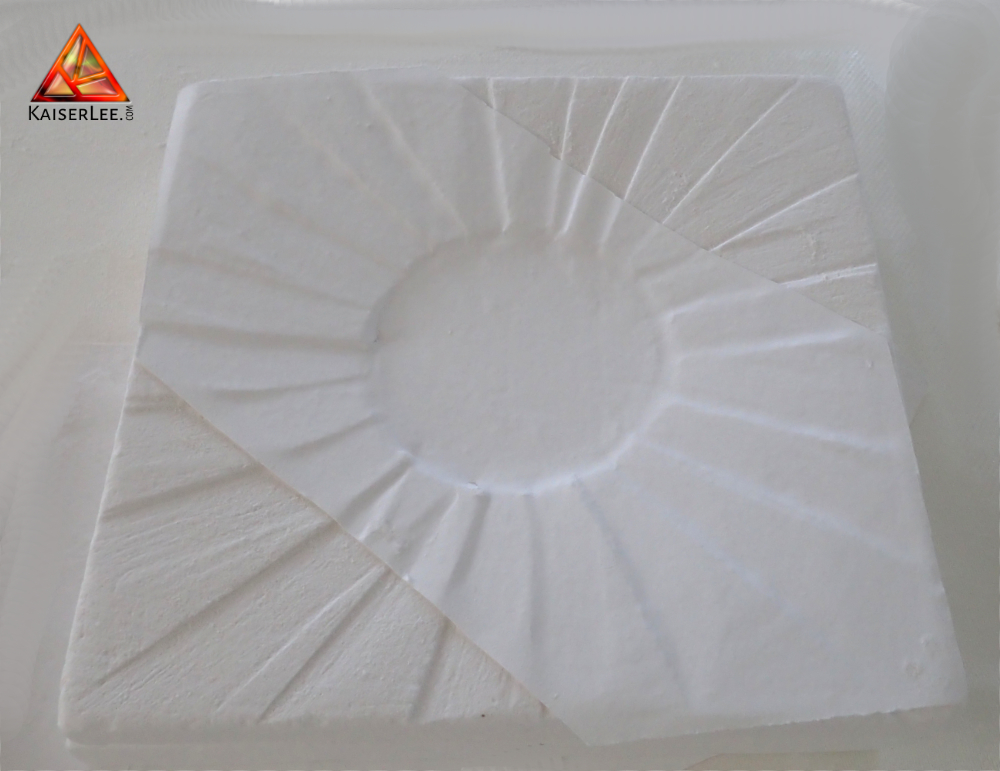
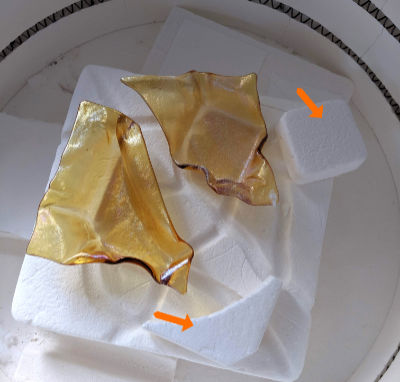
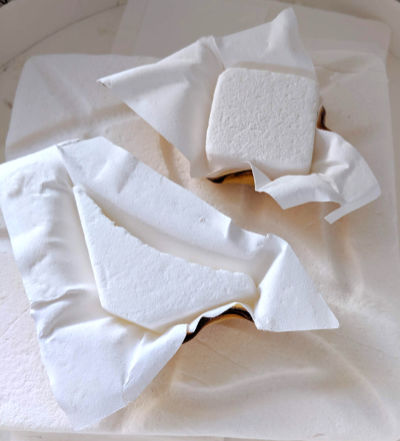
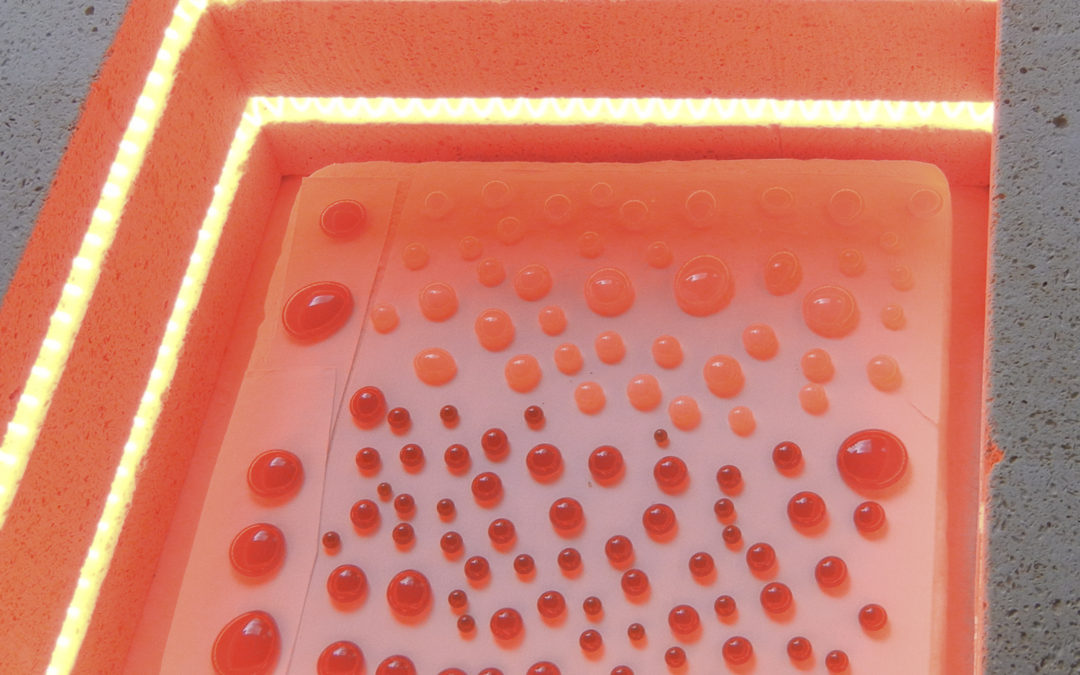
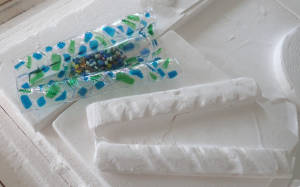
To create the curve I used a sanding block and carved on an angle to the inside, where I removed the 5 inch circle first.
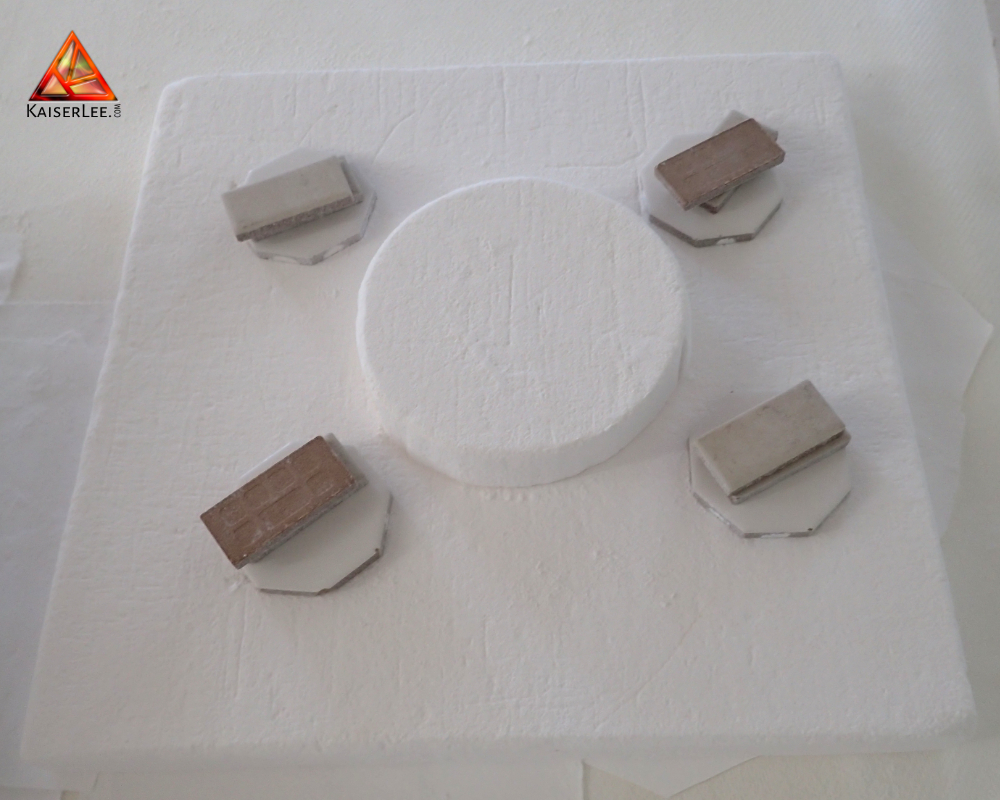
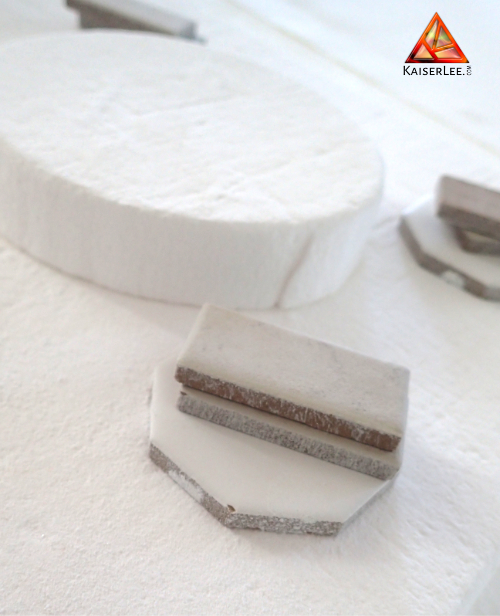
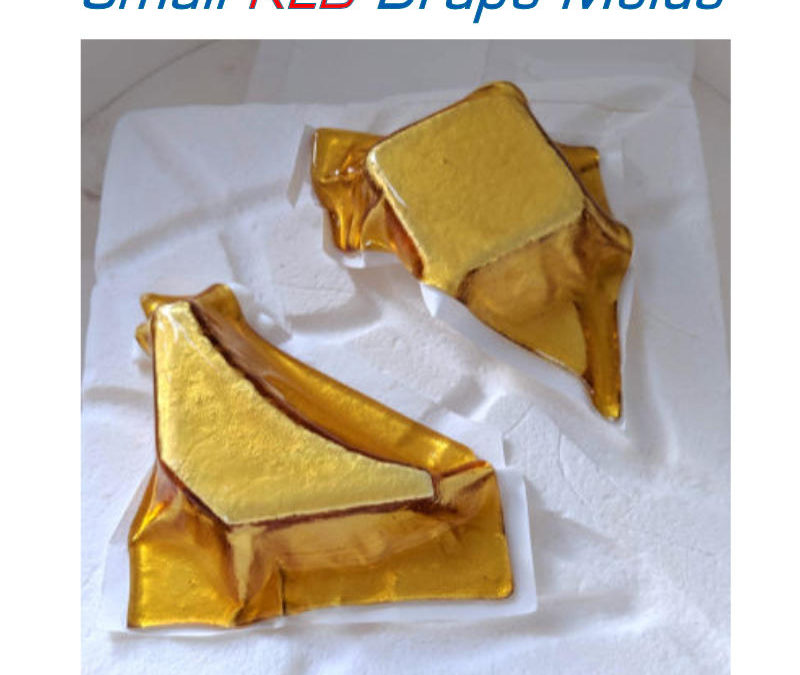
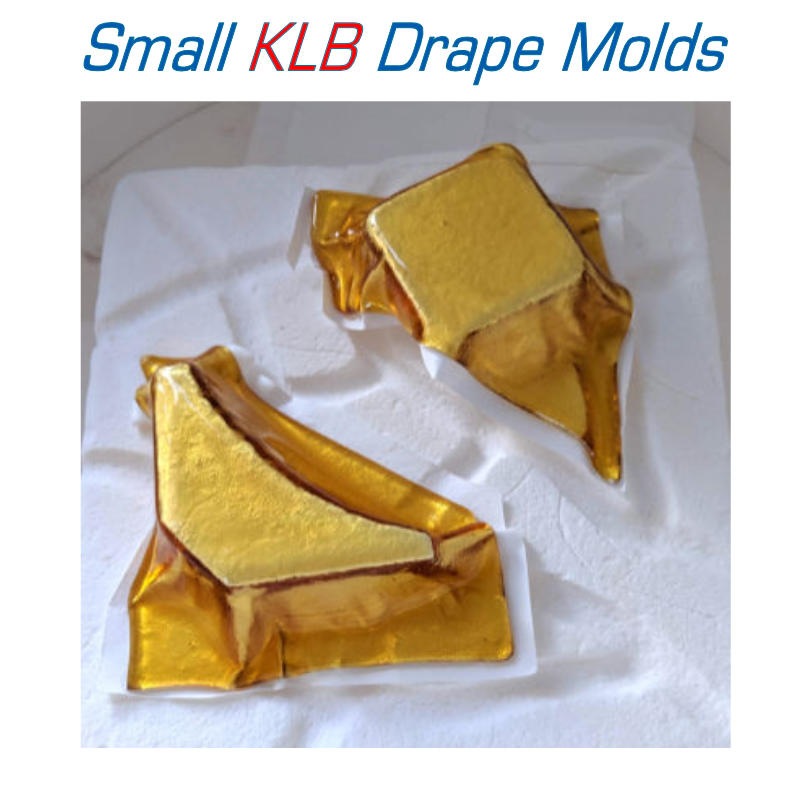
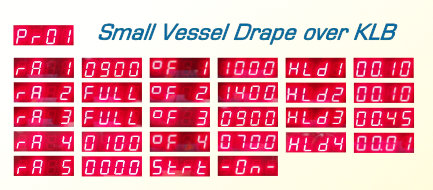
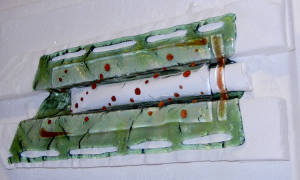
Using just two tiles to elevated the outer mold part just to a very shallow dish. If you want the dish a bit deeper in the center, add another tile and for a soup bowl you remove the center KLB part and use as many tiles you like until you have the preferred hight of your bowl.

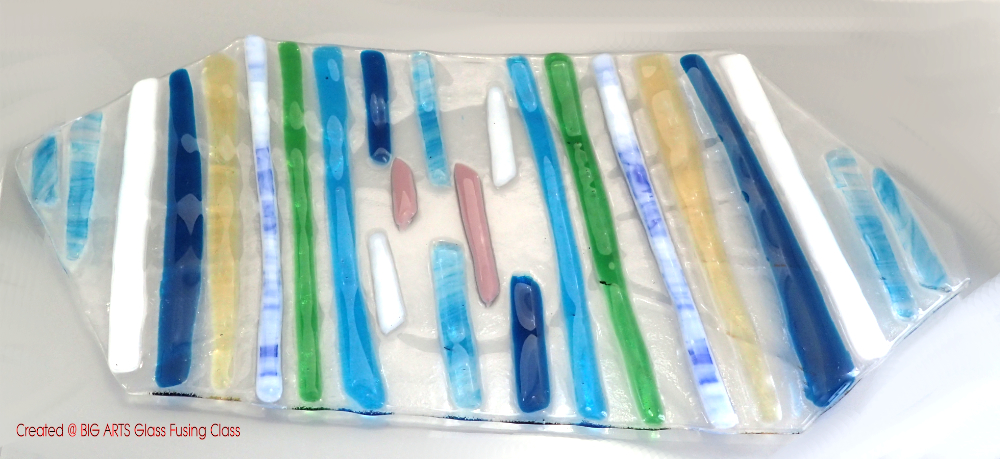
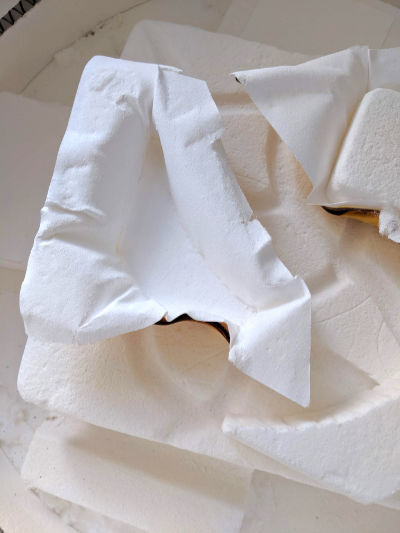
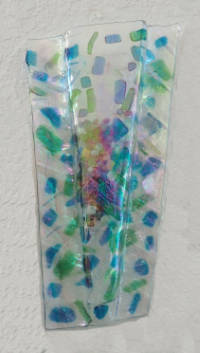
I used 4 sets of tiles three levels high for this blue lunch plate.

Create Your Own Table Setting with just this ONE KLB Mold
Just recently we had a discussion with a friend who said that he wanted a tablesetting made in the USA. So I told him not to look any further. He can make his own with glass made in the USA – Wissmach Glass, which is even tested food save.
So with this mold we will be making serving plates, lunch plates, soup bowls, and dinner plates. And if we get bored by the pattern, we can always change it.

Also in the month of January and February you can earn a $ 10 Gift Certificate when you are willing to share your KLB experiments with us and our blog readers.
